Here's a hypothetical situation: Your husband received a new black suit in the mail as a gift, and it is your job to find a tailor to have the suit pants hemmed to fit. Let's say, hypothetically, that you are a forgetful procrastinator. Then let's say that your husband tells you one morning, "I'm going to be speaking at the graduation ceremony tonight, and I'd really like to wear my new suit. Could you possibly hem my pants for me today?"
Hypothetically, this is what you would do.
First, you must do a bit of math.
The formula:
Husband's normal pants inseam + 2(width of cuff) + 1/2(width of cuff) = total length of pants before hemming
I chose a 1.5 inch cuff, and my husband has a 34" inseam in his pants. So my formula looked like this:
34 + 3 + 3/4 = 37.75 inches
In theory, I should have measured down 37.75 inches from the top of the inseam, and cut off the extra fabric. I was, however, pretty uncertain in what I was doing, so I chose not to cut just yet. Which pretty much makes the above formula obsolete.
On to the next step!
With the pants
inside out, measure down the inseam to the first fold in the pants, which would be (inseam length) + (cuff width). For me, that was 35.5 inches down. Mark it with pins all the way across.

Then fold up and iron flat.

Move the pins you had used to now keep the new fold in place.

Repeat with the other pant leg. Reality Check: Line up the two legs to see if they are the same length.

For whatever reason, one of my folds bowed out a bit, so I refolded, reironed, and repinned that one.

There, that's better!
Now turn the pants
right side out and measure your cuff width (for me, 1.5 inches) up from the bottom.

Mark all the way across with pins.

Fold up, iron flat, and move pins to hold the new fold in place.

Repeat with second pant leg. Reality Check: Line up the two legs again to see if they are the same length.

At this point, you're ready to begin sewing. But Jon was still at work for another 30 minutes, and I really wanted to make sure I got the length right before I made a single cut or stitch.
So I waited.
Caleb entertained me with his Moving Rocks from One Receptacle to the Other trick.


Tada!

Jon finally arrived home and it was time to find out if I'd done everything right. If all my measuring and re-measuring had been worth it.
Jon pulls the pants on, as well as the shoes he'll be wearing with them. At first glance, I think, "Hooray! It's an inch above the floor...perfect!"

But then on closer inspection, I realize that the pants are pretty floppy all around the shoe, not straight at the back with a slight break at the front. They were really too long; the only reason they didn't hit the floor is that they were also fairly narrow, so they stayed higher up on the shoe.

Sigh.
Back to the ironing board.
Before Jon gave the pants back, I quickly cuffed the hem one more time (essentially pulling it up another 1.5 inches) and it looked much better. So, I pulled out all the pins and started all over, this time bringing them up 1.5 inches higher than I had before. Again, before making a cut or stitch, I had Jon try them on.

Much better! They fit much more smoothly over the shoe.

Now it was time to take the plunge and make the cut. Yikes.

I gotta say that this was nerve wracking. If you have more confidence in your measuring skills than I do, I would
do this before all your folding and pinning! The danger of doing it at the end is that you will inadvertently cut more than one layer of fabric, and thus render the pants absolutely unusable...except to a very short person. If you wait until the end as I did,
be very careful. Keep separating the layer of fabric to be cut away from the rest of the layers. Go s.l.o.w.l.y.

Now it's time to sew. I did not include enough fabric at the end to turn and hem in a finished edge. Mostly because there were already lots of layers of fabric, and I wasn't quite sure I could handle another fold-and-iron-and-pin without undoing the other layers. Besides, these are suit pants that will only get gently worn and gently dry-cleaned. If you're hemming your husband's everyday khakis, you might want the finished him. A serger would be perfect for this (and another reason to make the cut in the beginning of the process).
I hand-sewed the stiches because I wanted to pick up all the layers except the outermost. At the seam lines, I sewed along the seam up and down the cuff and did include the outermost layer, in order to tack it down and keep it from unfolding. (The thread was hidden in the seam.) So basically I sewed all around the pant leg, but took a detour and made a few stitches up each seam and back down, perpendicular to the rest of the hem stitches. Make sense?

Turn back to right side out and iron.
And here's the finished product, finished just as Jon was needing to rush out the door to give an address during the high school graduation ceremony.

And I was rushing back in to figure out what to wear, eat my dinner, get Caleb ready for the babysitter, and leave in the next 5 minutes so I wouldn't miss hearing my husband speak.
Procrastination is for the birds. Someday I'll learn my lesson. In the meantime, hopefully this tutorial will help you stay out of a similar situation!

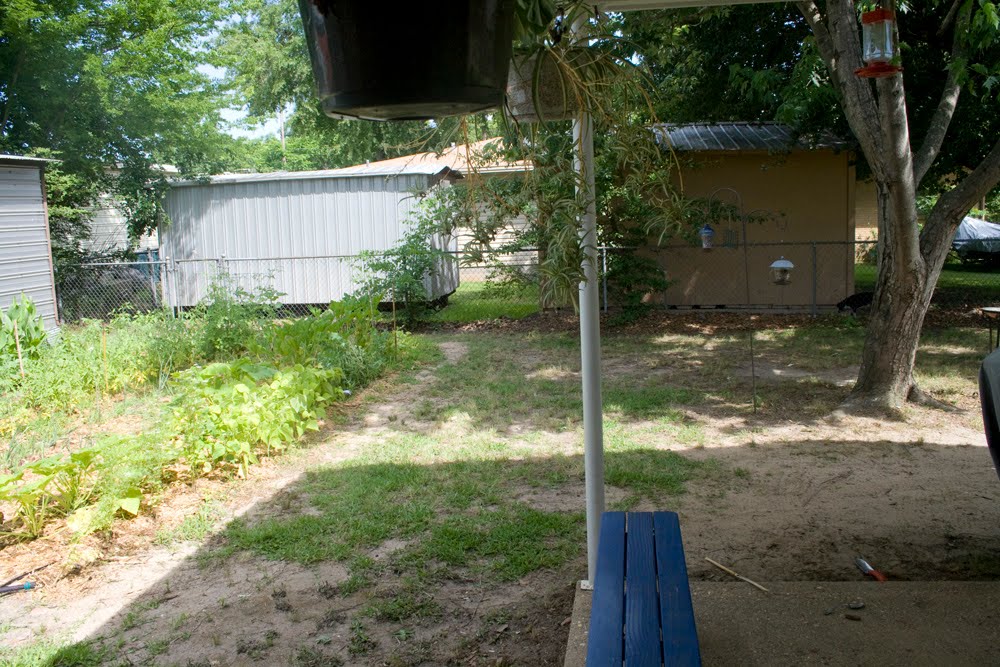


 This wall of the garage has another storage closet and a water closet, as well as the entrance to the utility room. Because there is no garage door, and the garage faces the church, this entrance is the one everyone uses to come in our house.
 Coming up next, the utility room!